Showing posts with label home brew. Show all posts

Saturday, September 26, 2015

Beet Kvass


WE LOVE THIS super-healthy recipe for traditional beet kvass from Hannah at Nothing But Delicious. We’re peering over Hannah’s shoulder as she takes us through the in’s and out’s of this old-school health beverage. What do you think: would you or wouldn’t you?
BEFORE I EVER TASTED beet kvass, I read that “to drink it is to taste the blood of the Earth”. Dramatic! But then I made beet kvass myself andwow.
I’m no stranger to fermented food and drink – from kefir to kombucha to kimchi, I love it all! But I’ve never tasted anything quite like this thick, crimson liquid; it is salty, ever-so-slightly sweet, ever-so-slightly sour and somewhere, underneath all of that, it tastes the way that soil smells in the springtime. And, oh boy, is it pungent.
Kvass has been a staple in Eastern Europe since the 10th century B.C. Traditional brews are made with rye bread, currants, raspberries and a number of other fruits, but no type of kvass is quite as beneficial as one made with beets, which the Russians have long claimed cleanses the blood and other internal organs. They weren’t far off; beets contain nutrients that have been proven to detoxify the liver, lower blood pressure and aid in the production of stomach acid. Because kvass is made with raw beets, it preserves these nutrients; the longer beets are cooked, the less phytonutrients they retain.
To say that beet kvass is an acquired taste is an understatement. If you didn’t grow up drinking the stuff, there’s a good chance that, despite it’s magical healing properties, you’ll be turned off by it. Luckily, there’s an easy way to warm up to it, and believe me, you will warm up to it.Pour half a cup kvass into a tall glass, mix it with a splash of agave nectar, then top it with lots of ice and soda water. Use aromatic herbs, if you have some on hand. Muddle raw cane sugar with mint, thyme or basil before adding the kvass, or simply place a sprig in the glass so that it hits your nose before you begin to drink.
Here’s a few do’s and don’ts for making your own beet kvass.
DO:
sanitize your beets and your jar, which should be a friendly, bad-bacteria-free environment in which the good bacteria in whey can thrive.
fuss over cutting the beets. If the pieces are too large, the fermentation process will happen very slowly. If they’re too small, you might be making beet wine.
seal your jar tightly. True lacto-fermentation happens in an anaerobic environment. One of the only ways that making kvass can go wrong is mold and mold can only grow where there is oxygen.
drink kvass cold.
DON’T:
worry if you come up short on whey. You actually don’t have to use whey at all, but it will expedite the fermentation process and add nutrition to your kvass.
use plastic. For anything. Ever. It’s a hotbed for filth of all sorts.
peel the beets- it’s difficult, messy and unnecessary. As long as you pull off any lingering roots and sanitize the whole beet with boiling water, you’re good to go.
be alarmed if your toilet bowl turns red. This is a harmless phenomenon called beeturia and it happens to about 15% of people.
  • HOW TO MAKE BEET KVASS

  • EQUIPMENT
    32 ounce glass jar with lid*
    fine mesh strainer
    coffee filter or cheese cloth
    yogurt or kefir
  • INGREDIENTS
    10-12 ounces (one very large) beet
    1 1/4 teaspoons kosher salt
    2 Tablespoons whey
    filtered water
  • DIRECTIONS
    Place coffee filter or cheese cloth in fine mesh strainer over a bowl and separate whey from yogurt or kefir- sometimes this takes a while, so give yourself time. Whey should be completely clear.
    Pour boiling water over whole beets and into the jar to sanitize. Remove any roots and chop beets into 1/2" cubes. Put them in the clean jar with whey and salt, then cover with filtered water.
    Leave the jar on the counter for 48 hours. You can tell the kvass is ready when it's really, really fizzy. At this point, you can let it sit for another day or two to develop a more sour flavor, or pop it in the fridge, where it keeps for about a week.
    Remember my tips above for adding fresh herbs and making your kvass even fizzier!Beet Kvass

Thursday, February 26, 2015

Superfoods for a Healthy Gut


Every year, a few new superfoods make their way into our kitchens and our recipes. While coconut oil, chia seeds and kale may have been the stars of years past, the following newcomers are finding their way into our healthy eating palates and are becoming more widely available.
1. Kefir
On the heels of what I am calling, the "year of the gut," kefir sits at the top of the list for superfood for gut and overall health. Used initially by the people of the Northern Caucasus mountains, kefir grains were thought to be blessed and were used to mix with milk or water as the nomads of this region traveled from place to place. Kefir, usually a fermented dairy drink, spread in popularity through Eastern Europe, with stories of the fabled drink healing everything from tuberculosis to stomach disease. It was used extensively in the hospitals of Eastern Europe and Russia to heal the sick.
Kefir contains live active cultures, making it a probiotic rich food that can help balance the microbiology of the belly. Kefir can be easy to digest, since it has a smaller curd than yogurt, and is safe for pregnant and nursing moms. Many of my patients report improvement in bloating, abdominal pain or constipation after using kefir. There are non-dairy versions of this drink as well, with many people making their own water kefir or coconut milk kefir.
Ongoing research of kefir shows potential promise in using the drink in wound healing, stomach ulcers, infant reflux and many other conditions.
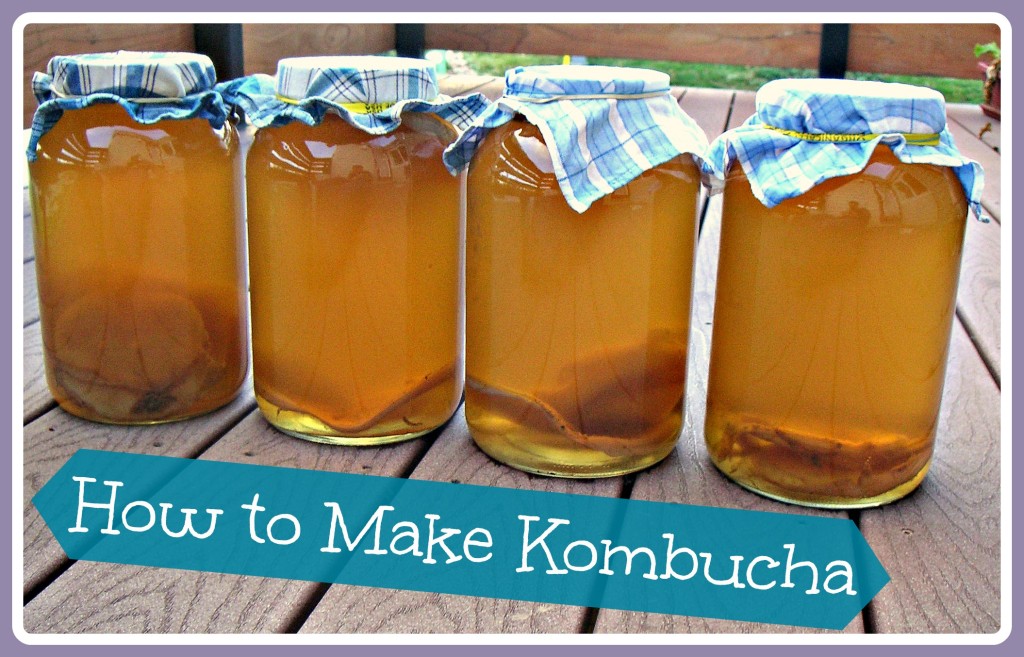
2. Kombucha                     http://wholenaturallife.com/2013/07/08/how-to-make-kombucha/  

Friday, May 16, 2014

How to make turmeric bug (or ginger bug)

Turmeric Bug (or Ginger Bug)

turmeric bug
    A simple way to ferment turmeric. Ginger may be added or substituted if not using for your skin.

    Ingredients

    Instructions

    1. Place freshly grated turmeric root, turmeric powder, or ginger root in bottom of wide mouth quart jar. Add sugar. (If using powdered turmeric, consider adding a bit of apple peel to encourage the fermentation process.)
    2. Add water and stir.
    3. Cover with cloth and rubber band. Place on shelf out of direct sunlight.
    4. After 24 hours add 1 Tablespoon grated turmeric, 1 Tablespoon powdered turmeric, OR 1 Tablespoon grated ginger. Add 1 Tablespoon sugar. Stir well. Replace cloth cover and leave on shelf.
    5. Every 24 hours add 1 Tablespoon turmeric or ginger, and 1 Tablespoon sugar until you see bubbles on the surface of the water. This generally takes several days.
    6. Strain and use in recipes or store in refrigerator.